Helical Knitting and Nature
A lovely knitting link to the helices found in Nature and particularly in the cells of plants.
Abigail Collins
9/28/20253 min read

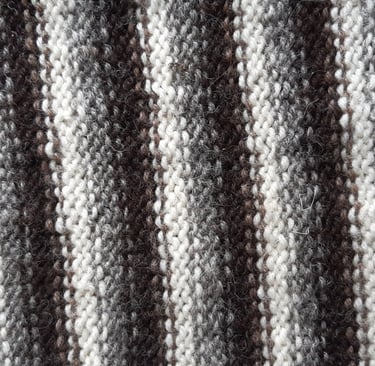
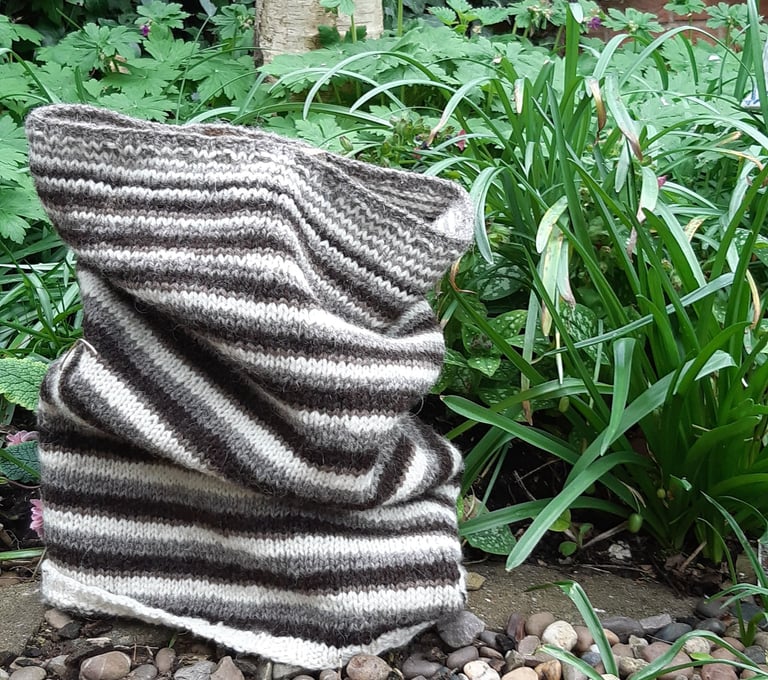
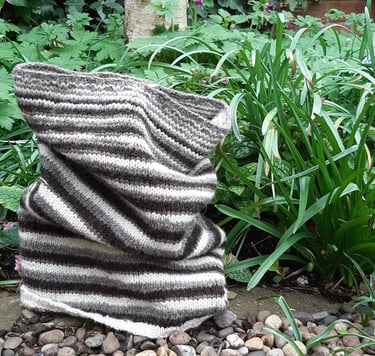
Helical knitting is usually promoted as a way of avoiding the ‘jog’ in single row stripes of circular knitting. However, it can also be used to create multi-row stripes which feature a gentle or more obvious spiralling pattern without carrying yarns up the work. It takes a bit of thought in the setting up but I believe it is a very pleasing bit of knitting maths magic and accidental art as the stripes change thickness and direction.
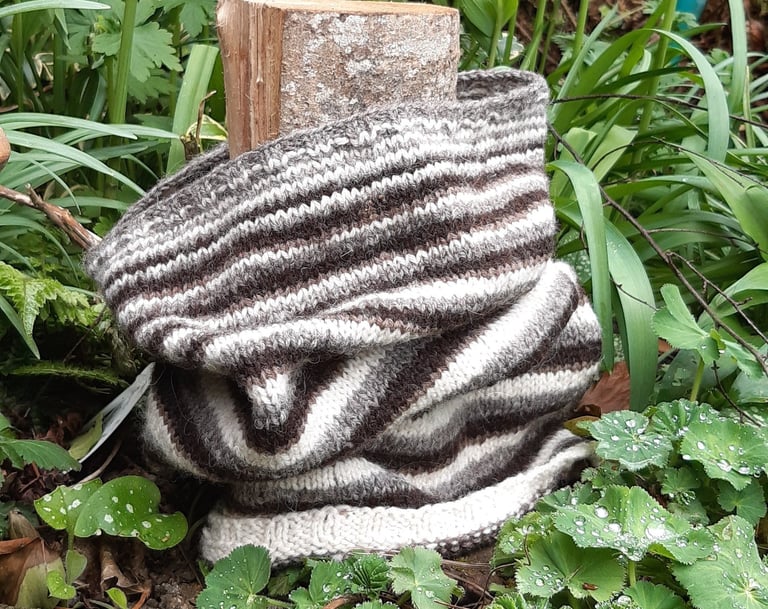
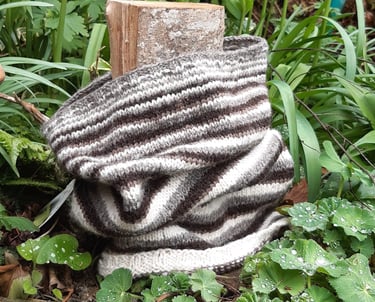
Making the Helixally Cowl
This pattern is more of a recipe that resulted from a happy accident. After pulling back a couple of large swatches of stranded knitting I found that I had a collection of five small balls in three different colours.
I decided on a striped cowl and came across the technique of helical knitting.
Helixally is inspired and informed by the following video tutorials which I found thorough and clear:
How To Knit: Helical Striping in the Round by Brooklyn Tweed at https://www.youtube.com/watch?v=c7QRehYUd-k
Multi-Round Helical Stripes by Arnall-Culliford Knitwear at https://www.youtube.com/watch?v=KDfWuEzgI38

Knitting Instructions
For my first experiment I used a 4mm short circular needle, DK yarn and 100 stitches, but I have made many since with different weights of yarn and needle size, but always a stitch count divisible by 4. The possibilities are endless!
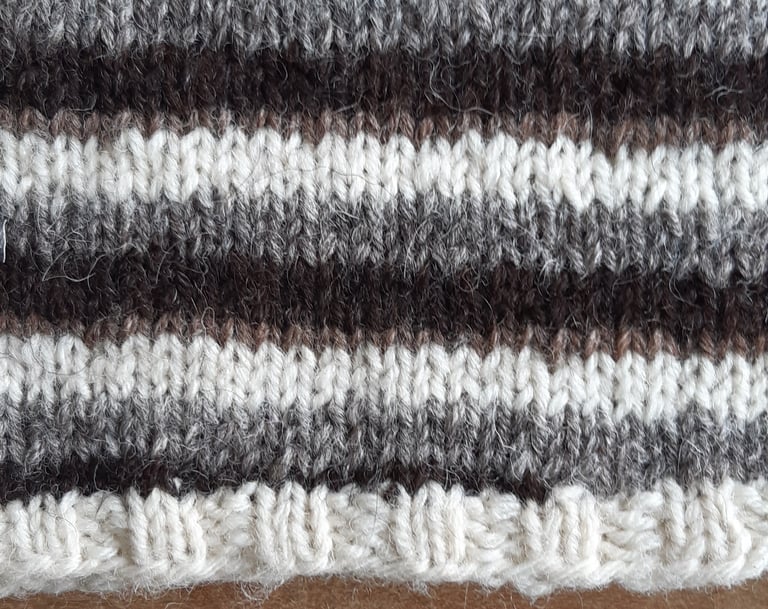
So cast on about 100 stitches, join to work in the round (careful to not twist your cast on), place a marker and work 4 rounds in knit2, purl 2 rib.
Helical Knitting set up round
This is where the creativity happens! Look at your yarn selection. If all your balls are different colours then you will be working a single row striped pattern. If you wish to have more rows of a colour then you will need one separate ball per row.
The next step is to divide your number of stitches by your number of balls to tell you how many stitches you will be working with each ball on the set up round
In my case 100/5 = 20 stitches. You don’t have to have a perfect whole number of equal sections, for example if I had six balls I would divide them 100/6 = about 17. 17x6 = 102, so I would have 4 sections of 17 stitches and 2 of 16 stitches giving me 68+32 = 100 stitches.
You are now ready to start the helical stripe pattern
With your ribbing colour knit your first section of stitches, in my case 20 stitches. Drop this yarn and introduce your next ball and knit the next section, continue like this, introducing your new balls all the way around to your marker. You don’t need to weave in your ends at this stage, just make sure that they are about 5cm (2 inches) long at least.
Slip your marker and continuing with the ball you used to finish the round, work until 3 stitches before the first ball change of the round, drop the working yarn. Slip 3 stitches purlwise and pick up the yarn from the last slipped stitch. Using this ball repeat the process of knitting until 3 stitches before the ball change, slipping 3 stitches purlwise and picking up the next ball.
That is basically it! Subtle technical points are found on the video tutorials I suggested.
Top rib, finishing and pattern link
In order to avoid a tangle I suggest that you arrange your balls of yarn in a sort of queue around your lap and move them round as you use them. Eventually you will approach a section where you judge that you have too little yarn in a ball to complete it, so at that point you simply ignore the slip stitch change over and work to the next ball change.
When you have worked about 30cm (12 inches) work 4 rounds in Knit 2, Purl 2 rib and cast off knitwise.
Weave in your ball ends and block gently.
For full instruction and a PDF version of this pattern
Connect
Explore the intersection of art and nature.
Follow
Inspire
contact@grewtextile.com
© 2025. All rights reserved.