Experimenting with fibre
Join me as I explore and develop the intricate techniques behind creating unique fibre art inspired by nature.
Knitting Techniques
Discover the art and techniques of knitting design, blending creativity with scientific understanding of plants and wool fibre.

Wet Felting
Learning about the wet felting process, transforming natural fibres into beautiful, textured artworks.
Unearthing the beauty of plant dyes, showcasing a spectrum of colours derived from nature.
Plant Dyes


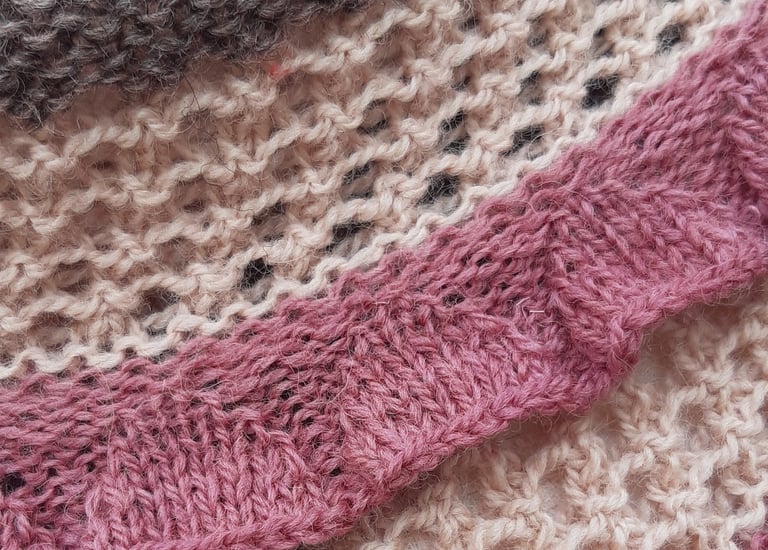
Helical Knitting and Nature
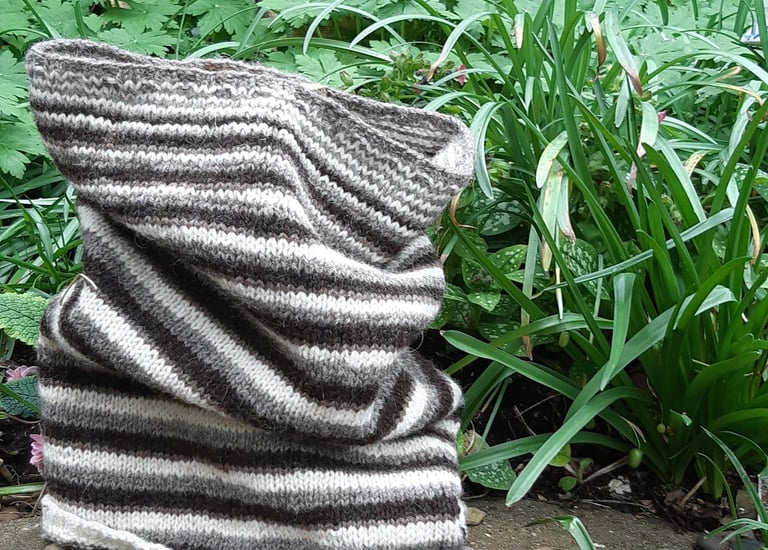
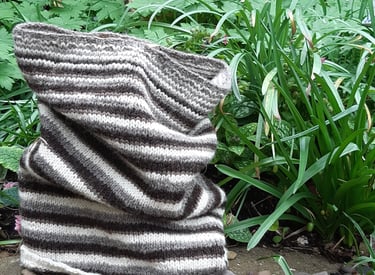
Inspired by helices in knitting and Nature - a free pattern recipe for a striped cowl

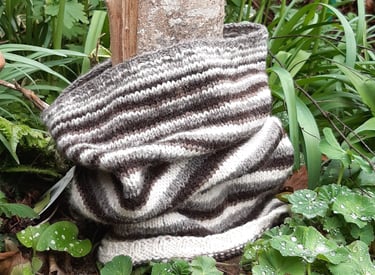
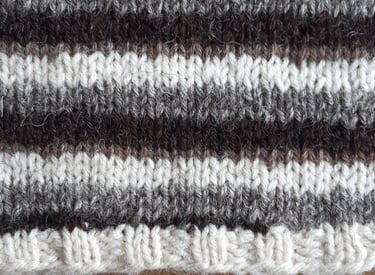
Helical knitting is usually promoted as a way of avoiding the ‘jog’ in single row stripes of circular knitting.
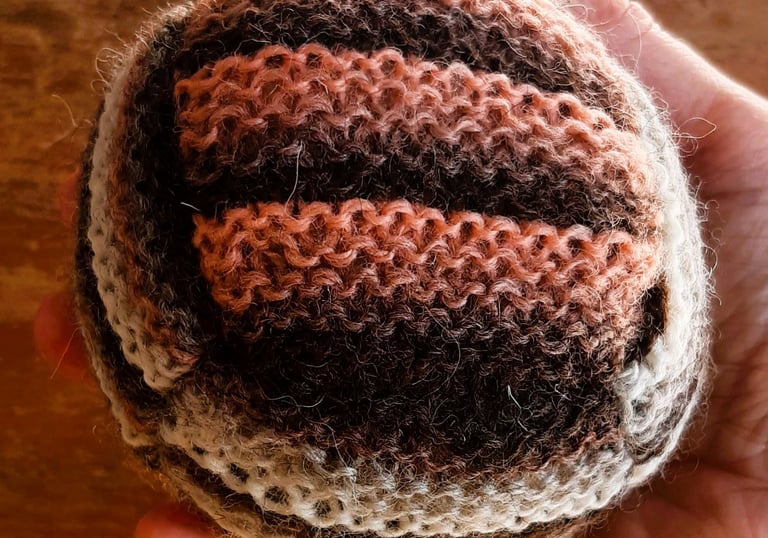
However, it can also be used to create multi-row stripes which feature a gentle or more obvious spiralling pattern without carrying yarns up the work.
It takes a bit of thought in the setting up but I believe it is a very pleasing bit of knitting maths magic and accidental art as the stripes change thickness and direction.
It also makes a lovely link to the helices found in Nature and particularly in the cells of plants.
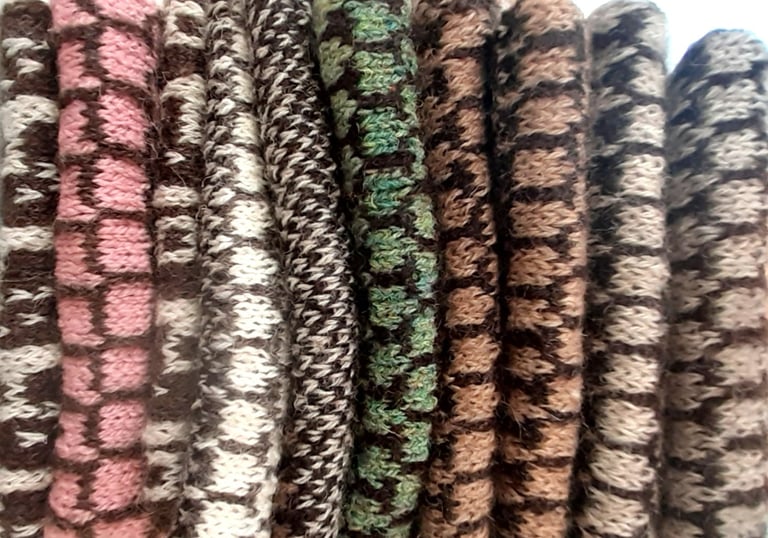
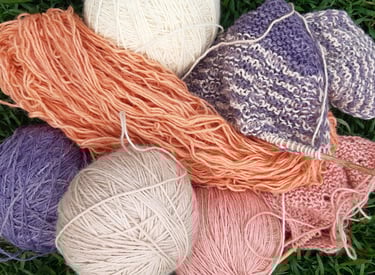
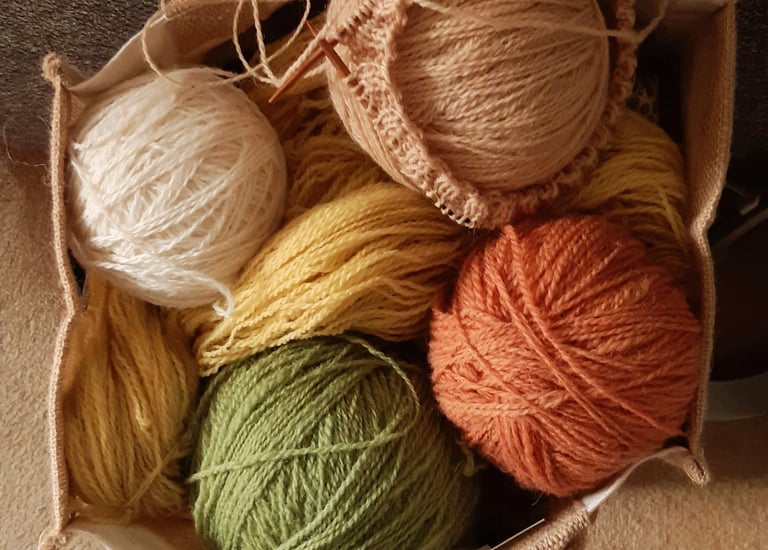
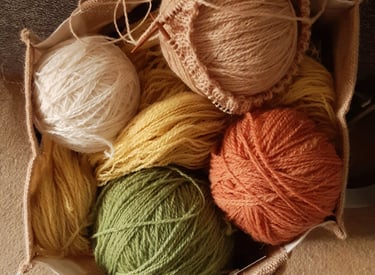
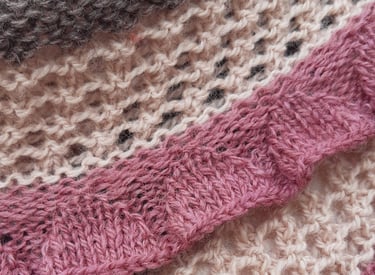
This pattern is more of a recipe that resulted from a happy accident. After pulling back a couple of large swatches of stranded knitting I found that I had a collection of five small balls of DK weight wool in three different colours.
I decided on a striped cowl and came across the technique of helical knitting.
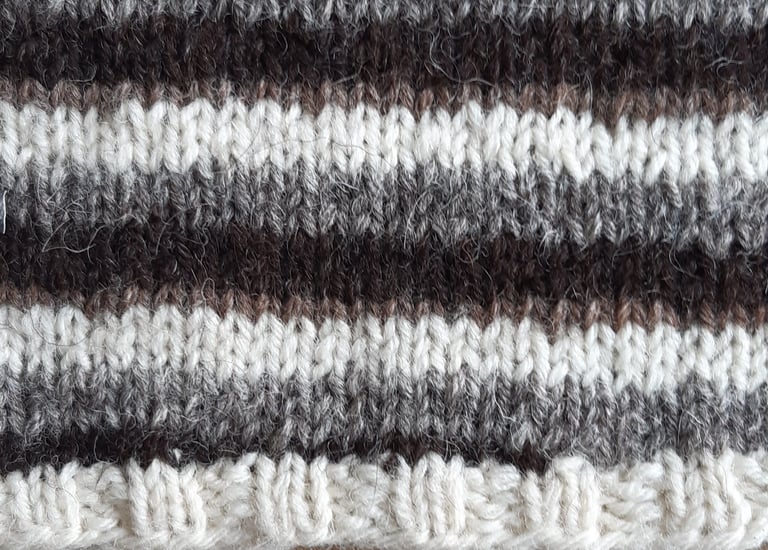
After a little ribbed edge I set up the pattern. As each ball was used up, so the stripe pattern changed until I was left with two balls of two colours to finish the cowl with rib.
I hope you have fun going round and round with your own ever-evolving stripy patterns.
Making the Helixally Cowl
Helixally is inspired and informed by the following video tutorials which I found thorough and clear:
How To Knit: Helical Striping in the Round by Brooklyn Tweed at https://www.youtube.com/watch?v=c7QRehYUd-k
Multi-Round Helical Stripes by Arnall-Culliford Knitwear at https://www.youtube.com/watch?v=KDfWuEzgI38
Full instructions for this cowl given in three sizes can be found on my Ravelry store.
Basic instructions
Using a 4mm circular needle cast on 100 stitches and knit four rounds in knit 2, purl 2 rib.
Set up round
This is where the creativity happens! Look at your yarn selection. If all your balls are different colours then you will be working a single row striped pattern. If you wish to have more rows of a colour then you will need one separate ball per row.
In my case 100/5 = 20 stitches. You don’t have to have a perfect whole number of equal sections, for example if I had six balls I would divide them 100/6 = about 17. 17x6 = 102, so I would have 4 sections of 17 stitches and 2 of 16 stitches giving me 68+32 = 100 stitches.
Slip your marker and continuing with the ball you used to finish the round, work until 3 stitches before the first ball change of the round, drop the working yarn. Slip 3 stitches purlwise and pick up the yarn from the last slipped stitch. Using this ball repeat the process of knitting until 3 stitches before the ball change, slipping 3 stitches purlwise and picking up the next ball.
That is basically it! Subtle technical points are found on the video tutorials I suggested.
When you have worked about 30cm (12 inches) work 4 rounds in Knit 2, Purl 2 rib and cast off knitwise.
Weave in your ball ends and block gently.
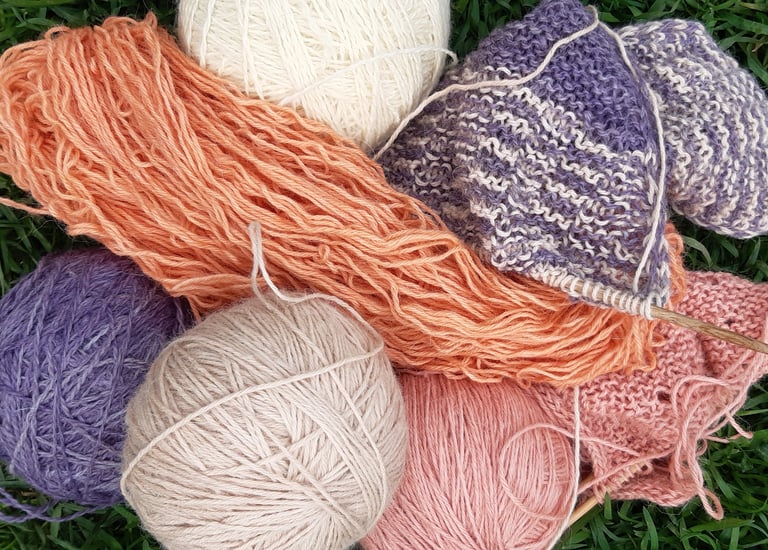
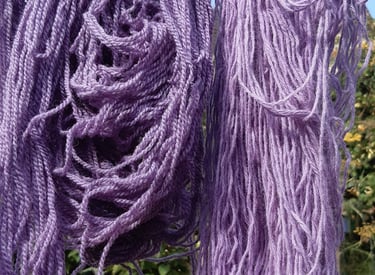
Experimenting with plant dyes
A modern way of carrying out an ancient craft
A modern twist
People have been using plant dyes for many hundreds of years. In a bid to move away from using synthetic dyes that are based on coal tar and other harmful chemicals, as well as reducing my impact on water pollution, I decided to have a go myself.
Now I am not living the life of a fairy in the forest, nor do I have the patience for sitting stirring a pot, so I needed another method than the normal.
So I dye using a microwave.
It's good for small amounts and reduces both the time and energy used.
So on this page I will be sharing some of my triumphs and probable disasters as I learn to add some colour to the already beautiful shades of natural fleece.
I hope that you find it interesting and feel inspired to have a go yourself.
Honestly, it's just wonderful fun and no mistake cannot be rectified. Well none that I've made so far!
Getting started
This all started for me with a kit I got from @debbie_tomkies so she should take a lot of the credit for this method.
Please be aware that this method involves very hot water, carrying weighty things and using powdered chemicals, so it should only be carried out by those who can safely follow these instructions.
What you will need
Up to 100g of pure wool or other animal fibre
Two plastic buckets of about 5l. The sort you get bird feed in work well.
One plastic, microwaveable tub that fills your microwave. Mine is a cake tub that is about 10cm (4 inches) tall and 23cm (9 inches) in diameter.
washing up liquid (soap)
alum mordant (available online as aluminium ferrous sulfate)
an accurate balance to weight the mordant and dye
a teaspoon that you keep away from food
tongs for transferring and stirring your wool
Here's my Basic Method
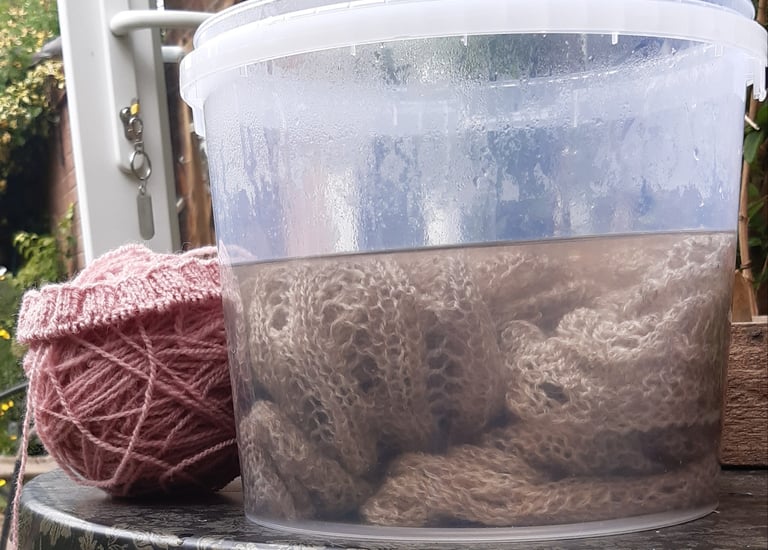
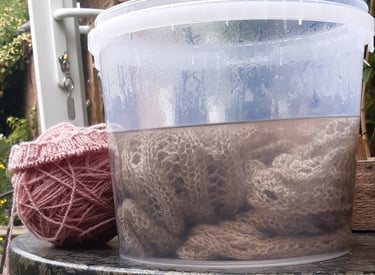
Take a hank of wool, no more than 100g, put it in a bucket or tub, add enough water to soak it and a drop of washing up soap to help the wool sink. Leave for about 30 minutes.
Meanwhile make up your mordant solution. The mordant help fix the dye to the wool. I used alum which you buy as a powder. It's not expensive.
However, it is an irritant, so you are advised to wear gloves when handling it. In fact I'd add a dust mask to that too. If you do get some on your hands or surfaces, quickly wash off with plenty of water.
Make sure you are working somewhere with good ventilation.
Weigh out about 20-25g (an ounce) of mordant into one of your tubs.
Add very hot water to dissolve the mordant powder.
Add more cool water. Enough to soak your wool
Add your wool.
Using tongs or your gloved hands, make sure the wool is submerged.
Mordanting
Carefully put your tub of mordant and wool into the microwave.
Set the microwave to full power and heat for 5 minutes.
Open the door for a minute.
Repeat this process another 5 times so that you have heated the mordanted yarn for 30 minutes in total.
The solution should be very hot but not simmering. My microwave is 800W. If yours is more powerful then reduce the time by 5 minutes.
Carefully and wearing gloves in case of spills, remove your tub and place it somewhere safe and away from food to cool. This could take a couple of hours.
Dyeing the Yarn
This process is like the mordanting.
Using your tongs or gloved hands and working over a sink or basin, take the yarn out of the tub, wash out the tub, give the yarn a quick rinse and leave it to drain in the sink.
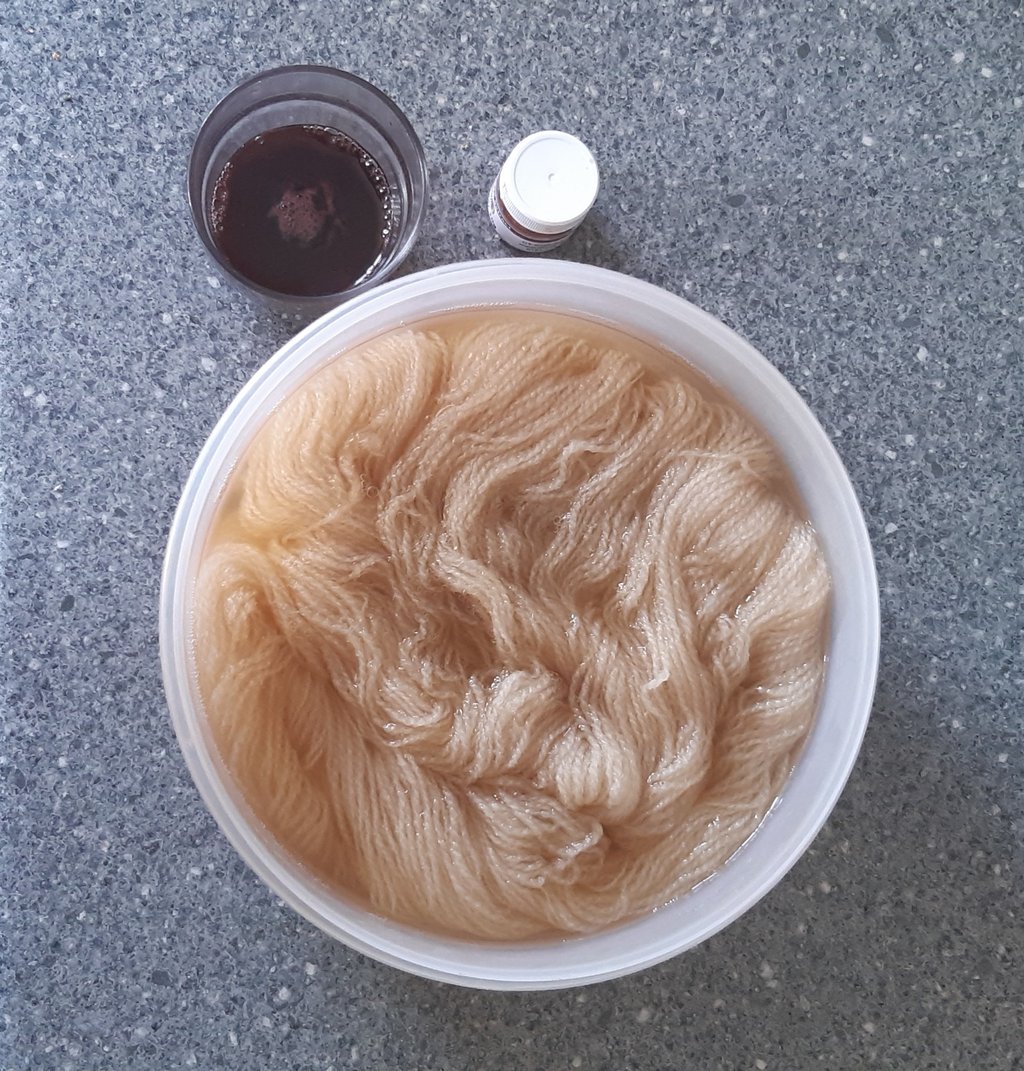
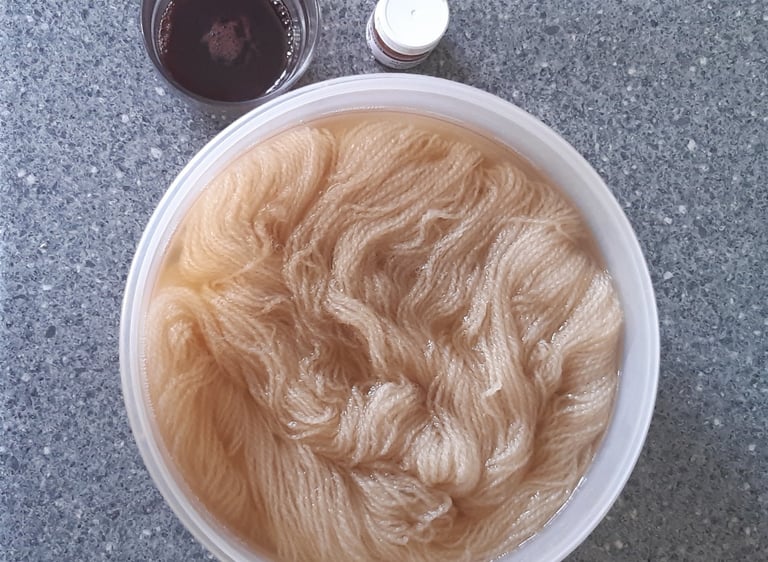
Weigh out about 5g of dye powder into you rinsed, dry dye bath.
Add a small amount of boiling water and use your spoon to create a paste.
Stir in more warm water, enough to soak your yarn. Make sure your dye colour is evenly distributed.
Using tongs, add the yarn and make sure that it is submerged.
Rinse out your sink.
Repeat the microwave heating like the mordanting stage but stir every 5 minutes using your tongs and heat for a total of 25 minutes.
Leave to cool completely. This allows the maximum amount of dye to be taken up by the yarn.
And finally
Take your dyebath to the sink.
Rinse out your yarn until the water runs clear and hang the dyed yarn out to dry.
You can either save your dye left in the bath for another batch, which will be paler, or mix it with another colour, or keep it just in case you want to add a bit more colour to your yarn.
I have dyed with madder red and a teabag in the same bath which gave me three different colours; starting with a raspberry pink, then a brown burgundy with brown wool and then a subtle pinky beige with a cream wool.
Or you can simply pour it over your plants in the garden or down the drain.
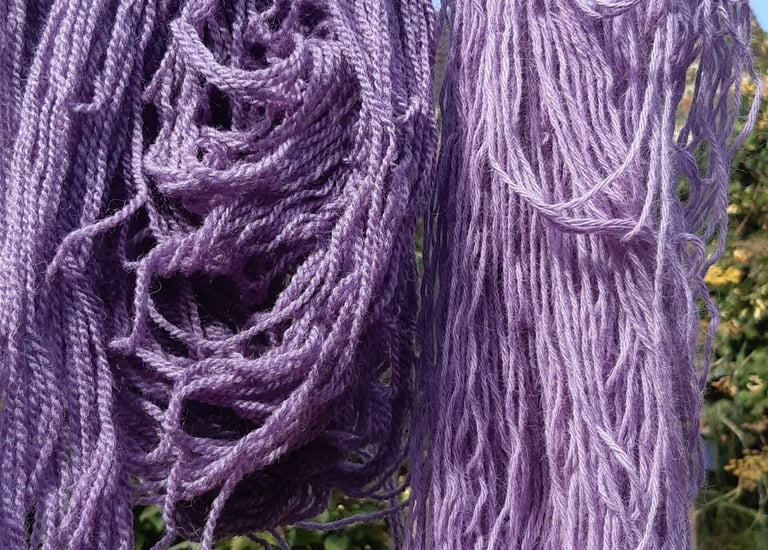
Then all that is left to do is to admire your work and marvel at the wonder of plants!
Dyeing with Dock
A beginner's guide to foraged colour
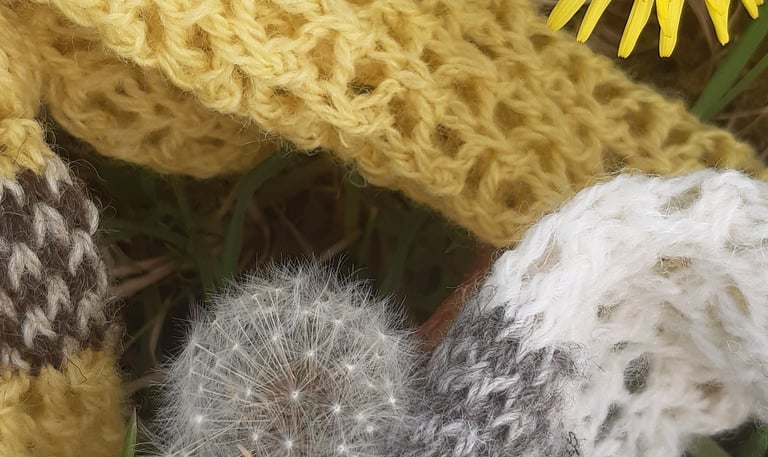
From Dock green to Dandelion yellow
Like many of us I am surrounded by lots of plants that are considered as weeds, like dock for example.
Dock and others can be used as dye plants, often producing a range of beautiful yellows.
So, how is it done?
First, identify your Dock leaves, gather up a bucket full and take them home.
You may want to pour them on to the ground and leave them for a while, just in case there are small creatures still living on the leaves.
Then tear them up a bit if you like, put them back in the bucket and pour on enough boiling water to cover the leaves. Leave for at least 8 hours.
Completing the process
Now you can drain the liquid into your dye bath and add the wilted leaves to the compost heap or simply on to the soil.
Then you can carry out the rest of the process just like I have describe in my introduction to plant dyeing.
And there you have it.
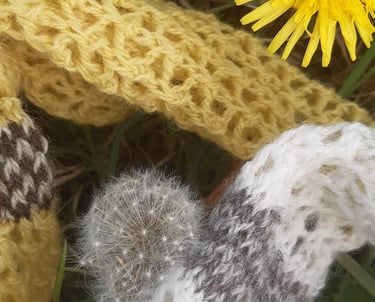
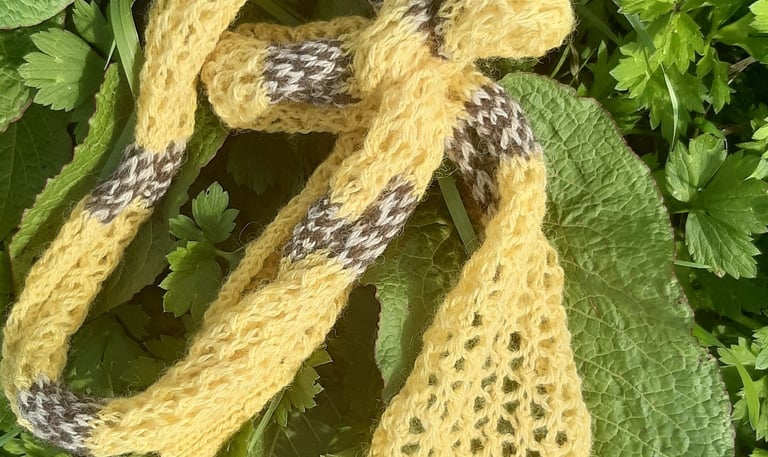
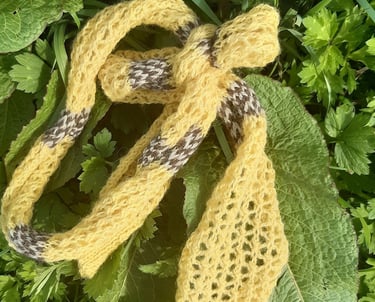
The green leaves have produced a bright Dandelion yellow, with no waste.
The pattern for my Little Dandelion Lace scarf can be found via my design page on Ravelry.
Connect
Explore the intersection of art and nature.
Follow
Inspire
contact@grewtextile.co.uk
© 2026. All rights reserved.